How to Install a Shower Drain
Are you constructing a brand new bathroom or simply repairing outdated features in your trusty shower?
Whichever it is, learning how to install a shower drain is a mandatory part of the process. The procedure varies depending on what type of shower drain you’re eyeing to install. Like all DIY plumbing projects around the home, we highly recommend consulting with a professional prior to attempting it on your own. Not all renovations are a simple fix—by hiring a plumbing expert, you will avoid any emergency repairs in the case that you run into unforeseen issues along the way.
Continue reading to learn how to install a shower drain.
Equipment and Materials Needed to Install a Shower Drain
- Tubing cutter or hacksaw;
- Channel-lock pliers;
- Screwdrivers;
- Plastic pipe primer;
- Plastic pipe solvent;
- Caulking gun;
- Silicone caulk; and
- A shower drain assembly.

3 Types of Shower Drains and How to Install Them
1. How to Install Tiled Shower Drains
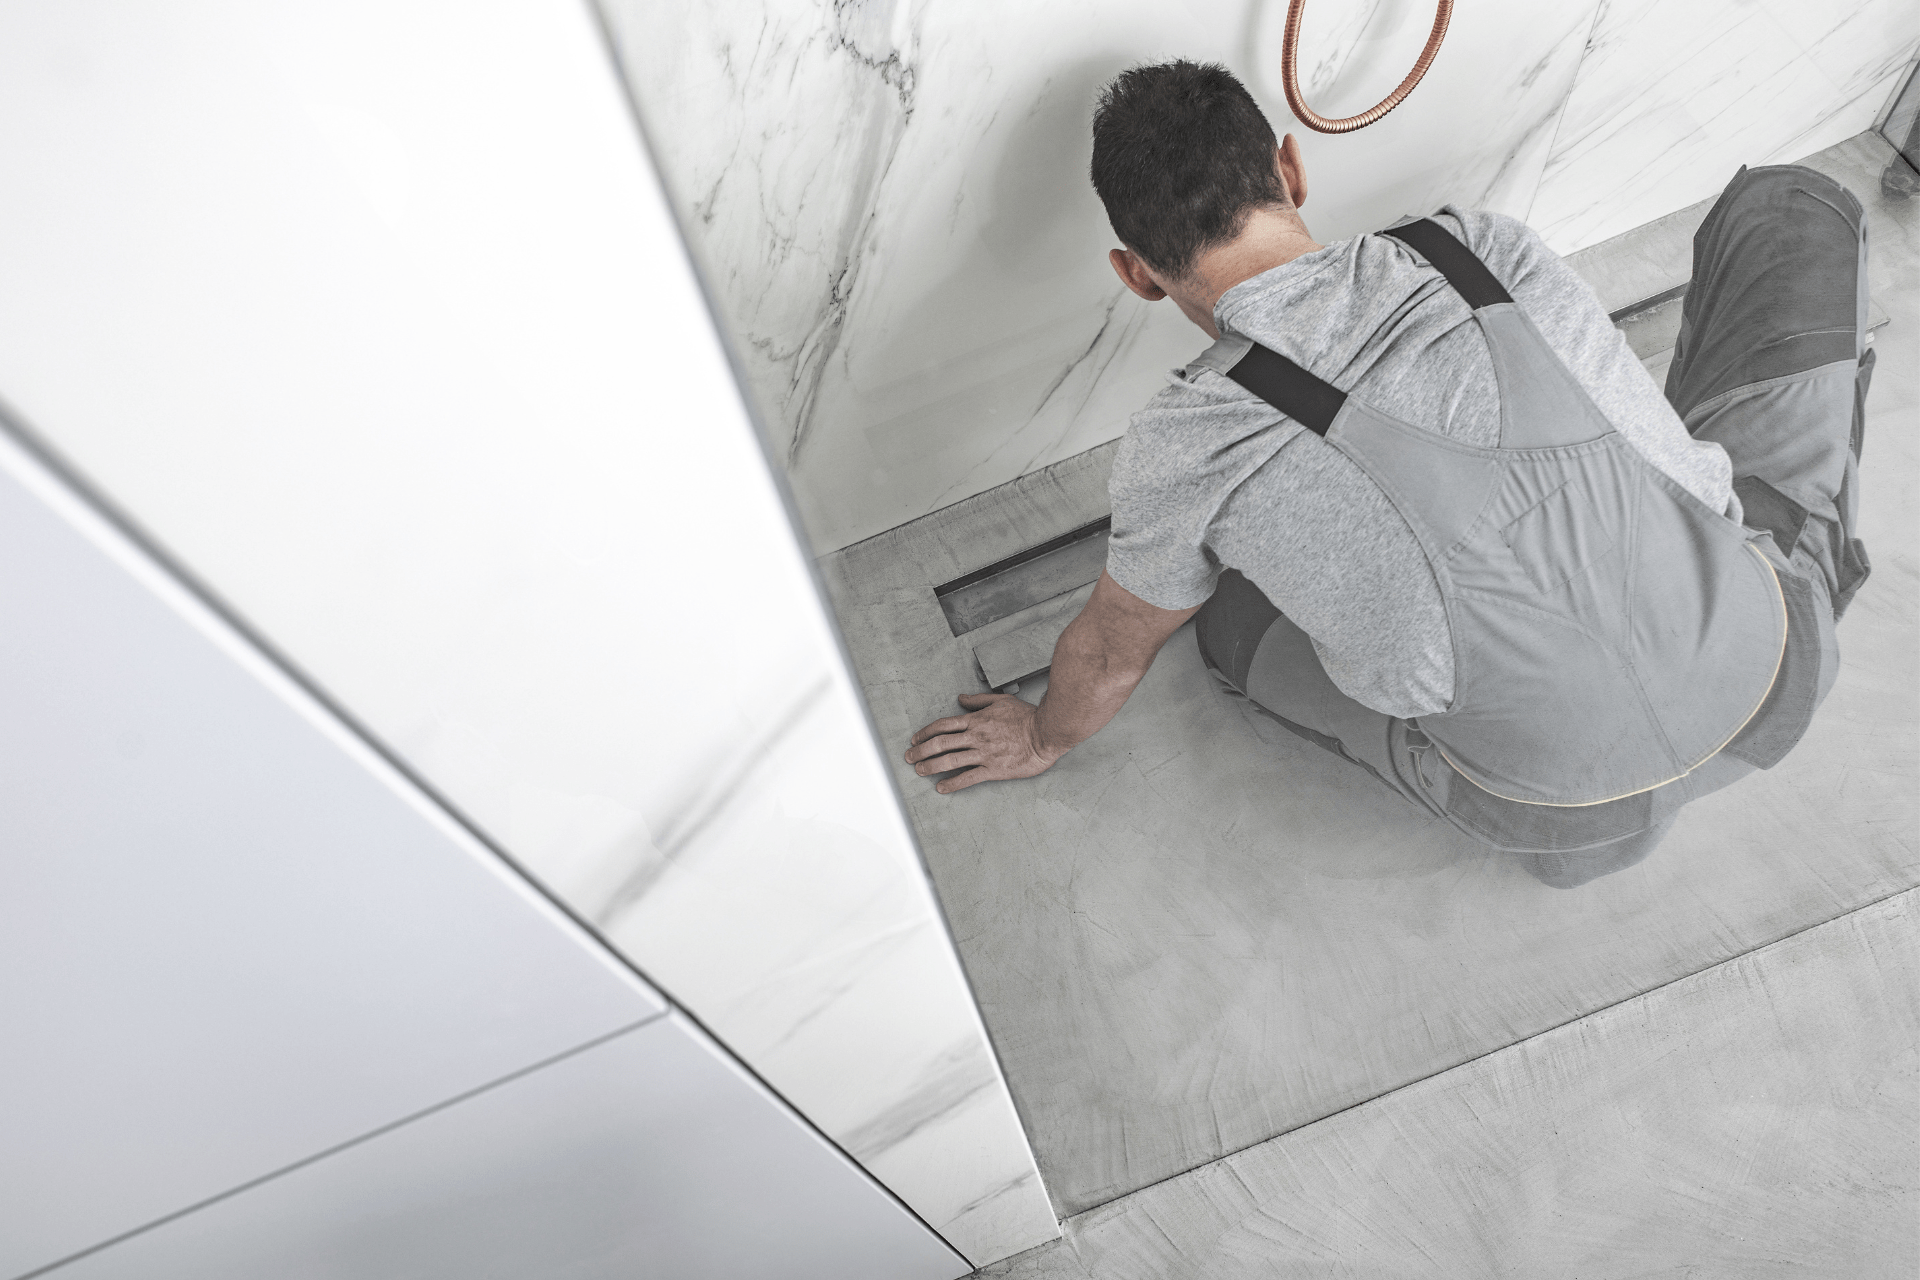
Tiled shower drains usually come in a trio of pieces. Each unit of the shower drain assembly is installed at different points in the tile pan installation process.
Step 1: Start by installing the bottom flange. Make sure that the subfloor of the shower is ready and clean before you install the bottom flange of the drain into the drainpipe. Set everything in place by means of solvent glue.
Once this part is done, spread a bed of mortar surrounding the drain opening. This creates a small slope (about ¼ inch per foot) away from the wall and in the direction of the drain.
Step 2: Once the mortar has dried completely, use silicone caulk to seal the liner to the drain flange. Next, cut off the liner around the drain opening.
Step 3: After that, we’re going to install the middle flange by inserting the fitting over the liner and drain opening. Use bolts to secure it to the bottom flange. The liner should be secured tightly in between the flanges.
💡Pro tip: pour some water over the shower pan to inspect for leaks!
Step 4: This final step will guide you on how to install the strainer assembly.
Grab the drain strainer assembly and attach it to the drain. Make sure that it extends above the liner. Thread it onto the middle flange.
Once this part is complete, you’re all set to install the rest of the ceramic tiles!

2. How to Install Compression Shower Drains
A compression shower drain is an assembly that attaches to the drain pipe with compression nuts and washers. This style of shower drain is typically easier to install versus its solvent-glued counterparts, especially if your home doesn’t have a basement or crawl space beneath the shower base. Compression shower drains are available in brass, PVC, and ABS material and are compatible with shower bases made of fibreglass, steel, or acrylic.
Here’s how to install a compression-style shower drain:
Step 1: Let’s begin by trimming the drainpipe with a tubing cutter or hacksaw. Depending on the specific manufacturer’s directions, it should usually come up to approximately ¾ to 1 inch below the rim of the shower drain.
Step 2: Next, attach the drain assembly by applying a bead of silicone caulk around the top flange of the shower drain opening. Place the rubber sealing washer and cardboard friction washer atop the drain assembly tailpiece from underneath the shower base.
Afterwards, you can proceed to thread the mounting nut onto the tailpiece. Don’t forget to tighten it properly with the channel lock pliers.
Step 3: Now, it’s time to put the shower base into position! Carefully place the shower base to ensure that the drainpipe extends up into the drain assembly.
Step 4: This phase will prompt you to insert the compression gasket. All you have to do is position the soft rubber compression gasket down into the drain hole, fitting it perfectly around the drainpipe.
Next, go ahead and thread the compression nut into the opening. Make sure to fasten it tightly. Use a screwdriver to secure the rubber gasket against the drainpipe. This is crucial for creating a watertight seal.
Step 5: Finally, remove the fitting tool and secure the grate over the drain opening. Let the silicone cure for at least 24 hours before using the shower.

3. How to Install Solvent-Glued Shower Drains
A solvent-glued shower drain is traditionally made of PVC or ABS plastic. If your drainpipe is plastic, it’s important to match it with the shower drain material. This type of shower assembly is suitable for fibreglass, acrylic, and steel shower bases.
It’s important to keep in mind that you should only use a solvent-glued drain assembly if you have access to crawl space beneath the shower.
Let’s install this solvent-glued shower drain!
Step 1: Kick things off by adjusting the drainpipe to the right height according to the manufacturer’s instructions; a bit of trimming may be required.
Step 2: A solvent-glued shower drain comes in multiple parts. It consists of a strainer cover, an upper body section that runs down through the drain opening in the shower base, and a lower body section with female threads which can be screwed onto the upper body.
Start by dismantling all the components of the drain assembly. Set the cardboard friction washer and rubber sealing washer aside.
Step 3: Now, you’re ready to slide the upper portion of the drain assembly with a bead of silicone caulk around the flange of the shower drain opening. Make sure that you set the upper portion of the drain assembly into the drain opening and press down immediately.
Step 4: During this part of the drain installation process, we will be securing the rubber sealing gasket from below the shower base. After that, go ahead and put the paper friction gasket into position over the male threads of the upper section.
Finally, thread the lower body portion of the solvent-glued shower drain onto the upper body.
Cap things off by tightening the drain assembly. Do this by screwing the pieces together until you see a bit of silicone trickling out between the drain opening and flange. Wipe away the excess silicone and attach the metal grate to the top of the drain.
Step 5: You’ve made it to the final step in the installation process! Now all you have to do is spread plastic pipe primer around the outer edge of the drainpipe and around the interior surface of the lower drain body’s smooth socket. Do this from the floor beneath the shower base.
Next, lay out a thin layer of solvent glue onto the said surfaces and immediately slide the drainpipe into the socket on the body. Hold everything in place until the glue solidifies. Now, allow the solvent glue and silicone caulk to cure for 24 hours before hopping into the shower.
Professional Shower Drain Installation Services
For those of us who don’t have the time to take care of a shower drain installation all on our own, you can always call in help from the experts at PlumbWize.
Give us a call to book a service request today!


 0
0 905-332-8222